Picture this: you type a message on WhatsApp at 7 AM. By the time you pour your coffee, your AI assistant has searched the web, drafted a full report, and sent the summary to your team. No cloud subscription needed. No browser tab open. That is exactly what OpenClaw delivers – and this OpenClaw setup guide will save you the painful trial-and-error most users go through first.
OpenClaw is an open-source personal AI assistant that runs a local Gateway on your computer. It became one of the fastest-growing open-source projects in history, reaching 250,000 GitHub stars by March 2026. However, most people only scratch the surface of what it can do. This guide covers installation, the best AI models, core tools, skills, and automation workflows – so you can go from install to genuinely useful in a single afternoon.
Getting OpenClaw Installed
The fastest path to a working setup is the onboarding wizard. Open your terminal and run npx openclaw onboard. The wizard walks you step by step through your API keys, first messaging channel, and workspace location. On Windows, you can run it natively – no WSL required. On macOS and Linux, the process is identical.
Your configuration lives at ~/.openclaw/openclaw.json. Everything lives in that file: API keys, model settings, channel tokens, and agent definitions. In addition, sensitive values can be moved to ~/.openclaw/.env so they stay out of your config history. For project-specific overrides, create an openclaw.config.json in any project folder.
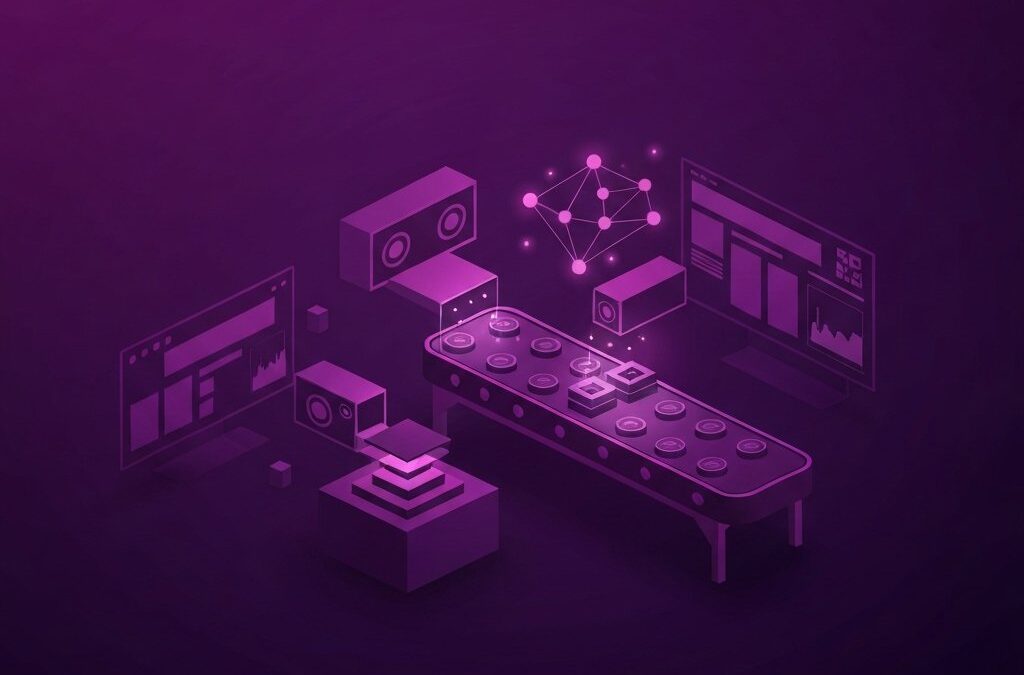
The Gateway: Your Control Plane
The Gateway is the local server OpenClaw runs on your machine. It manages sessions, routes messages from every connected channel, and connects to your AI model providers. Consequently, all your conversations stay on your device as plain Markdown files in the workspace folder. Overall, nothing leaves your machine unless you explicitly ask.
You start and stop the Gateway with openclaw gateway start and openclaw gateway stop. For most users, it runs as a background service that starts automatically on login. Moreover, you can check its live status at any time with openclaw gateway status.
Choosing the Best AI Models for OpenClaw
This is where most new users make their first costly mistake. They pick one model and never revisit it. However, OpenClaw is completely model-agnostic – you can mix providers, set fallbacks, and run local models at zero API cost.
For most general-purpose use in 2026, start with anthropic/claude-sonnet-4-6 as your primary model. It is fast, capable, and cost-effective for daily use. For your fallback, add openai/gpt-5.1-codex as a backup when Anthropic hits rate limits. If you need an offline option, any Ollama-served model works well for low-complexity tasks.
Model configuration in openclaw.json lives under agents.defaults.model. You set a primary value, then a fallbacks array. Furthermore, each model entry supports a temperature value, maxTokens setting, and an alias – a short name like sonnet you can use in slash commands. So, when your primary provider hits an outage, OpenClaw automatically tries fallbacks in order.
However, be realistic about local models. In 2026, they still lag behind frontier models on complex agentic tasks. So, use local models for cost control and privacy – not as your daily driver. For teams running OpenClaw on a shared server, local models via Ollama are worth considering for sensitive data workflows.
OpenClaw Tools: What the Agent Can Really Do
OpenClaw ships with a powerful set of built-in tools that go well beyond simple chatting. Understanding these tools is essential for getting full value from the platform.
The exec tool runs shell commands on your machine, sandboxed by policy. Your agent can install packages, run scripts, and interact with your OS directly. Moreover, web_search queries Brave Search and returns structured results with no browser required. web_fetch extracts readable content from any URL, making it ideal for research and competitive monitoring.
The browser tool gives you full Playwright-based automation. Your agent fills forms, clicks buttons, and screenshots pages on demand. In addition, the read and write tools handle file I/O in the workspace, so the agent maintains persistent memory as plain Markdown. Finally, sessions_send lets you spawn or message sub-agents – for example, one agent monitors your inbox while another runs research in parallel.
The official OpenClaw documentation has a complete tool reference with examples for each one.
A Real-World Example
For example, a developer on a small team configured OpenClaw to monitor their GitHub repository for new issues each morning. The agent checks for unassigned bugs and drafts triage notes automatically. For example, it labels issues by severity and tags the correct team member. As a result, the team cut their morning standup prep from 20 minutes to under 5. No human intervention was needed after the initial setup day.
Skills: Extending What OpenClaw Knows
Skills are the most powerful feature most users underuse. A skill is a folder containing a SKILL.md file with instructions and optional scripts. OpenClaw reads the skill at load time, and the agent uses it whenever the description matches your request.
OpenClaw ships with 50+ bundled agent skills covering weather, image generation, GitHub, Notion, transcription, and more. However, the community has built over 5,400 skills available through ClawHub, the official skills registry. You can install any skill with clawhub install skill-slug. Skills load from three locations in order of precedence: your workspace skills folder first, then ~/.openclaw/skills, then bundled skills.
Writing Your Own Skill
Creating a skill is surprisingly straightforward. First, create a folder in your workspace skills directory. Next, add a SKILL.md file with a YAML frontmatter name and single-line description. Then, write your instructions in plain language – the model follows them directly. For anything requiring code, add scripts to a scripts subfolder and reference them with {baseDir} in your SKILL.md. The agent automatically picks up new skills on the next gateway start.
Automation: Heartbeats, Cron, and Sub-Agents
OpenClaw has three distinct automation mechanisms. Choosing the right one for your AI automation workflow makes a significant difference in reliability and cost.
Heartbeats are periodic polls on a configurable interval. Your agent checks a HEARTBEAT.md file in the workspace and acts on anything listed there. For example, it can check email every 30 minutes, review calendar events, or summarize overnight notifications. Use heartbeats when you want batched checks that share conversation context and can tolerate slight timing variation.
Cron jobs run on a precise schedule. Use them for tasks that need exact timing – a morning briefing at 8:00 AM, a weekly digest every Monday, or a one-shot reminder in 20 minutes. Furthermore, cron jobs run in fully isolated sessions, completely separate from your main chat history, which keeps them fast and cheap.
Sub-agents are the most powerful option. You spawn a new session with its own workspace, agent skills, model configuration, and tools. For example, one sub-agent handles research while another handles writing, and a coordinator routes between them. Consequently, complex multi-step pipelines scale cleanly without blocking your main conversation.
Before building your first automation, run through this quick checklist. Identify what should trigger the task – a time, a message, or an event. Decide whether the task needs context from prior conversations. Choose heartbeat for batched checks, cron for precise schedules, or sub-agents for parallel work. Then write a HEARTBEAT.md or skill that encodes the logic.
Risks of Getting OpenClaw Wrong
OpenClaw gives you direct access to your machine. That power comes with real risks if you skip the safety defaults.
The biggest danger is unconstrained exec access. If you connect OpenClaw to a messaging channel that is publicly accessible, anyone who messages your bot could potentially trigger shell commands. Always configure allowFrom in your channel settings to whitelist specific user IDs. OpenClaw channels support fine-grained access control – use it from day one.
Moreover, a second risk is credential exposure. Putting API keys directly in openclaw.json is fine for local use, but syncing that file to a public repository is a serious problem. Use ~/.openclaw/.env for all secrets and add .env to your .gitignore immediately. Moreover, rotate any keys that were ever committed to version control.
Finally, watch out for context window costs. The UnboundedChatCompletionContext keeps every message in history. For long-running agents, token costs grow continuously. Overall, switching to BufferedChatCompletionContext or enabling compaction takes two minutes and prevents expensive surprises later.
Agentix Labs covers AI agent security and automation in depth – worth bookmarking if you plan to run OpenClaw in a team or production environment.
Practical Next Steps
So, what is the takeaway? OpenClaw rewards users who invest 30 minutes in proper configuration. The defaults work, but the real value comes from model setup, skills, and automation.
First, install and run the wizard – npx openclaw onboard takes under five minutes. Next, set up a fallback model so you are never stuck on rate limits. Then, install two or three skills from ClawHub that match your workflow – weather, GitHub, and your messaging platform are solid starting points. After that, write a simple HEARTBEAT.md with one task, such as a morning briefing or inbox check. Finally, review your channel security settings before connecting any public-facing channel.
OpenClaw is genuinely different from every other personal AI assistant on the market. However, it is not plug-and-play in the way a SaaS tool is. In addition, the documentation is still catching up to the pace of development. Give yourself a weekend to explore it properly. Consequently, you will end up with an AI assistant that fits your workflow – instead of the other way around.